Tools and Materials Needed
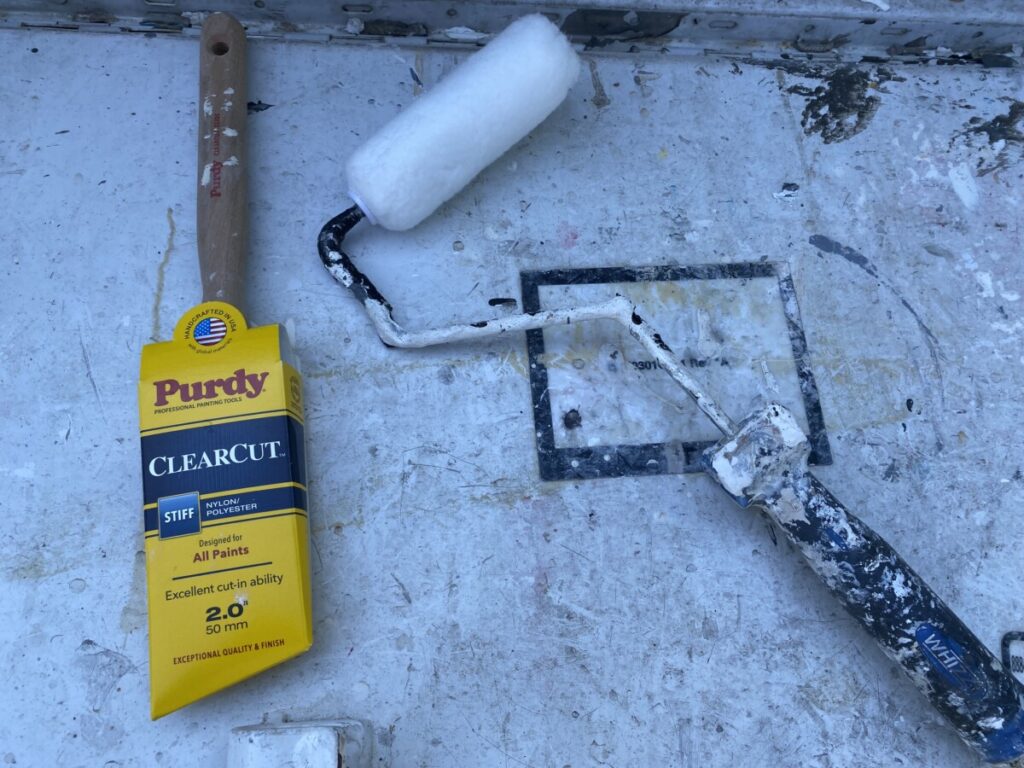
- Paint Brush 2″ Purdy Clearcut Stiff
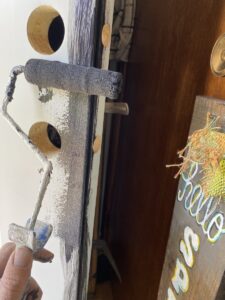
- 3/8″ Whizz Roller and Frame
- Cardboard Slip
- Any cardboard wide enough to slide completely across and depth to catch any splatters
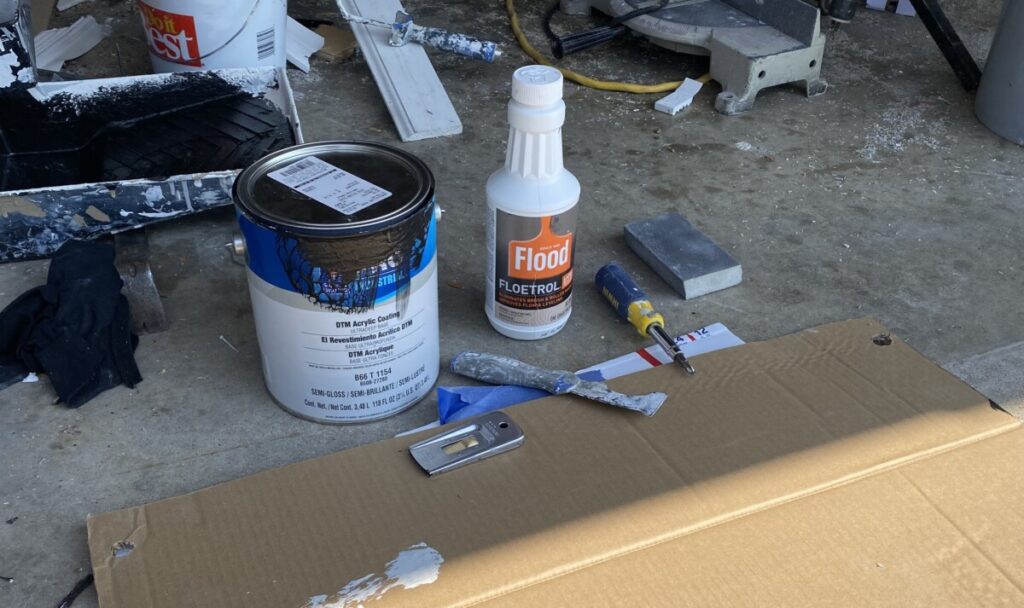
- Flood by Floetrol
- Single edge Razor Blade
- Phillips Head Screwdriver
- Sanding Sponge
- Exterior Paint for Metal
- Any latex paint rated for metal will do, but absolutely NO OIL BASE!! Oil is a mess and unless its a car paint being sprayed on, modern latex paints will last just as long.
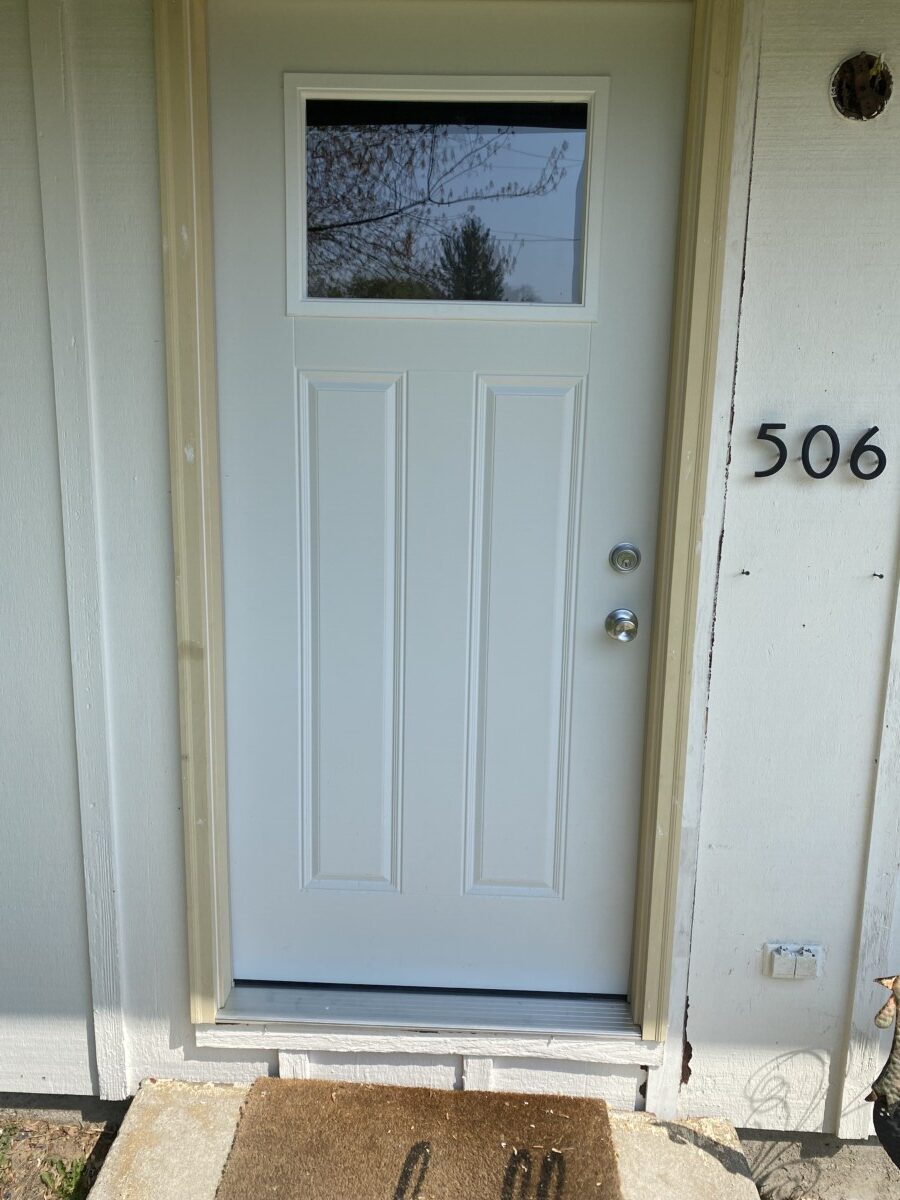
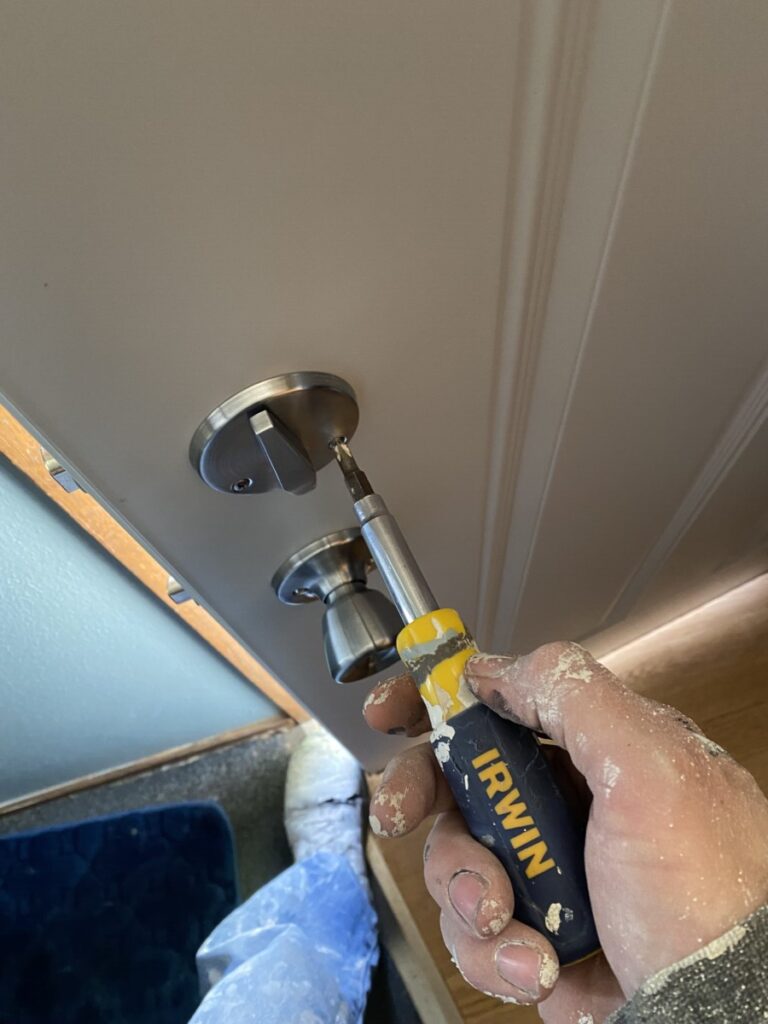
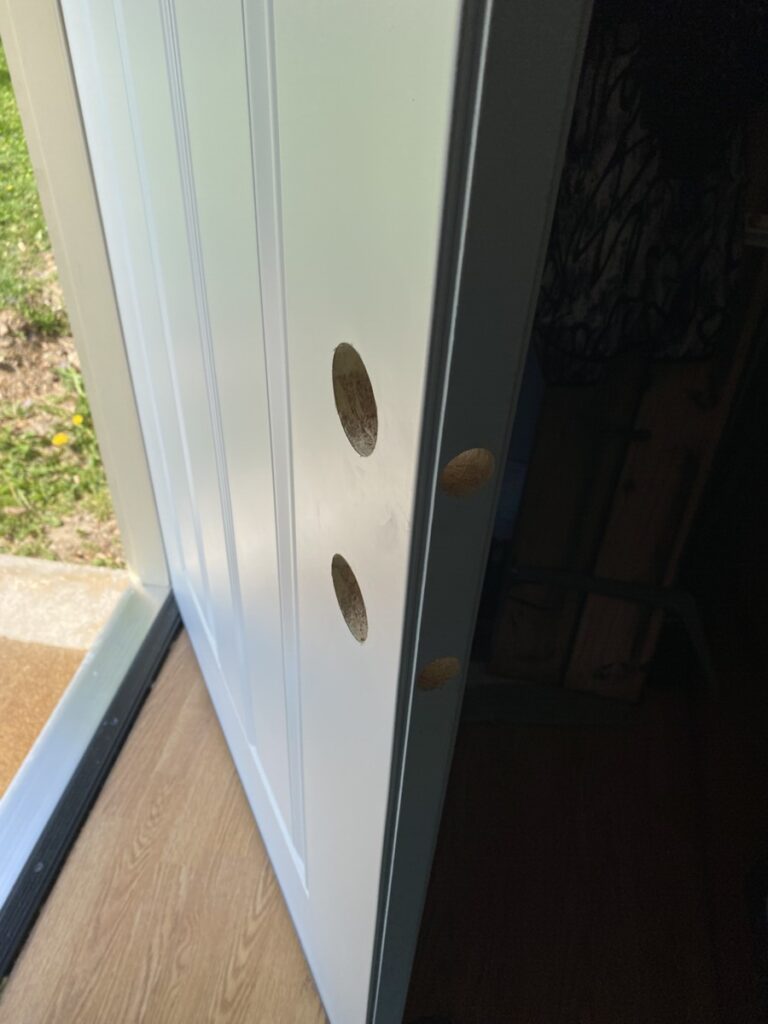
Step 1 – Hardware Removal
Before the process of painting our door, we have to remove any door hardware connected to the door slab.
Handle and deadbolt assembly need unscrewed and moved to a safe spot.
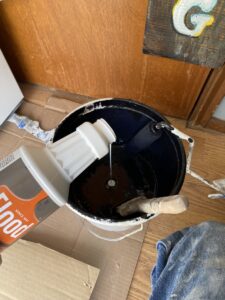
Keep all screws and handle accessories in a bowl or clean paint pot if available
I just usually put these next to door in a place where they won’t get kicked around and lost.
The hinges remain, but a person can remove the middle hinge to save time cutting the butt side of door in with brush.
Once we have the door blanked its time for the next step.
Step 2 – Continued Prepping
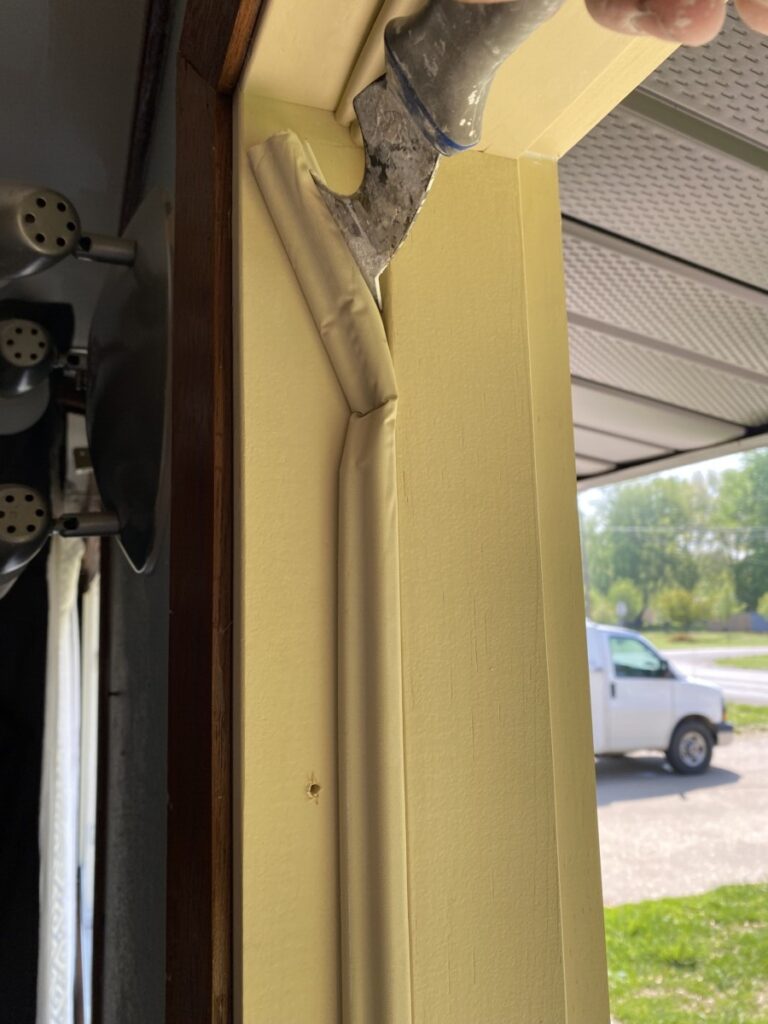
Now we can remove the door seals.
Instead of pulling the door seals straight out with hand, I prefer to wedge them out with my 5 in 1.
After wedged out I then pull with your hand. This will reduce the risk of ripping the foam seal from flange.
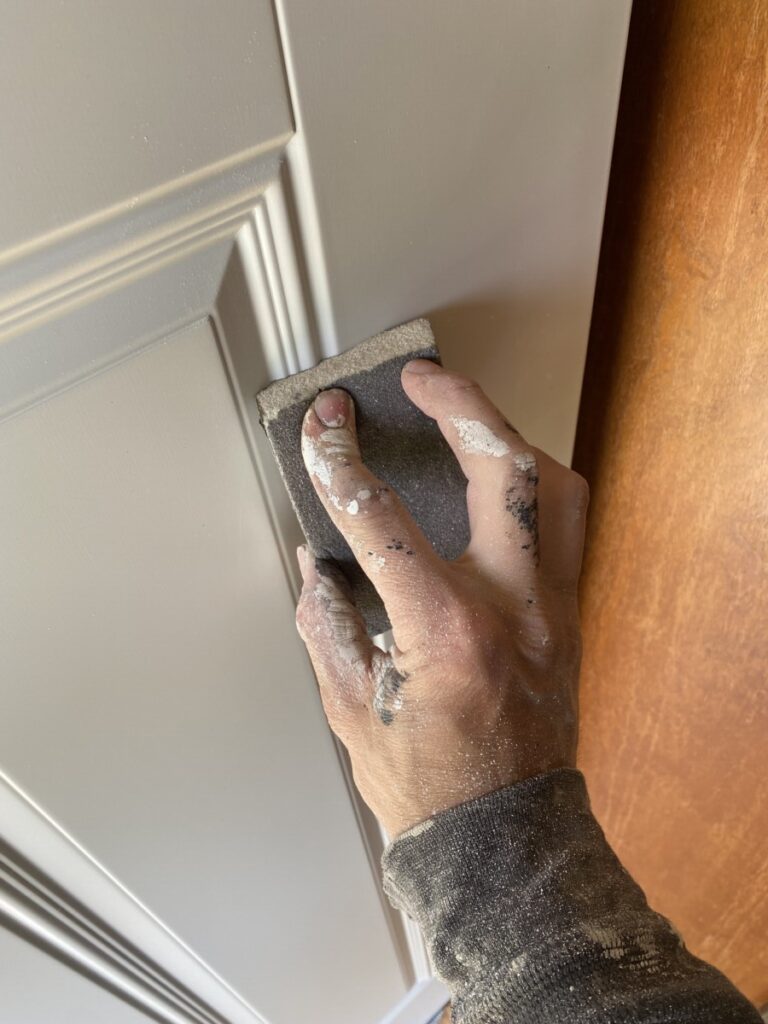
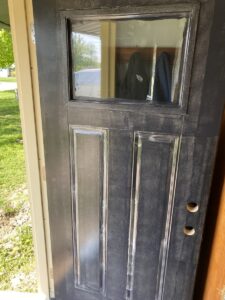
Now we can break out the sanding sponge and sand liberally the entire door.
If sanding exposes bare metal there is no worry, we are using the proper paint to adhere either way.
The sanding block used is a fine 180-220 grit sponge. Big grit does not properly sand the surface area.
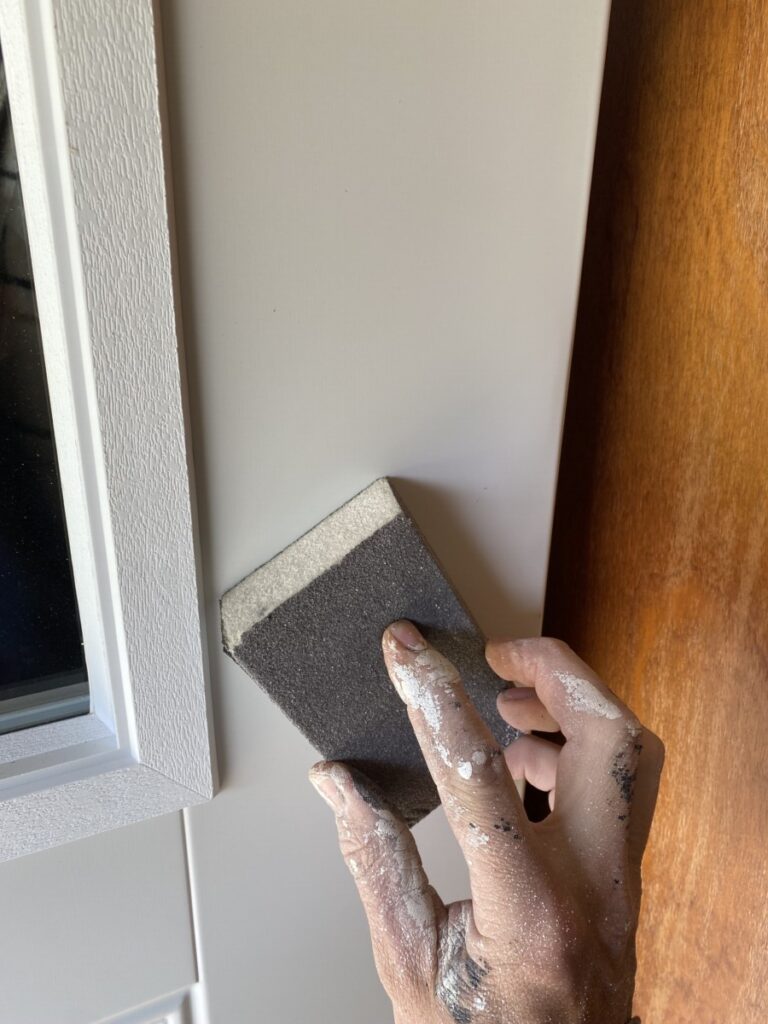
Picture dragging a boulder across your driveway. Now Picture a thousand pebbles. The thousand pebbles will scarify the area, while the boulder only gouges a small path.
This is the goal, adhesion of the paint throughout the surface. Not just rows.
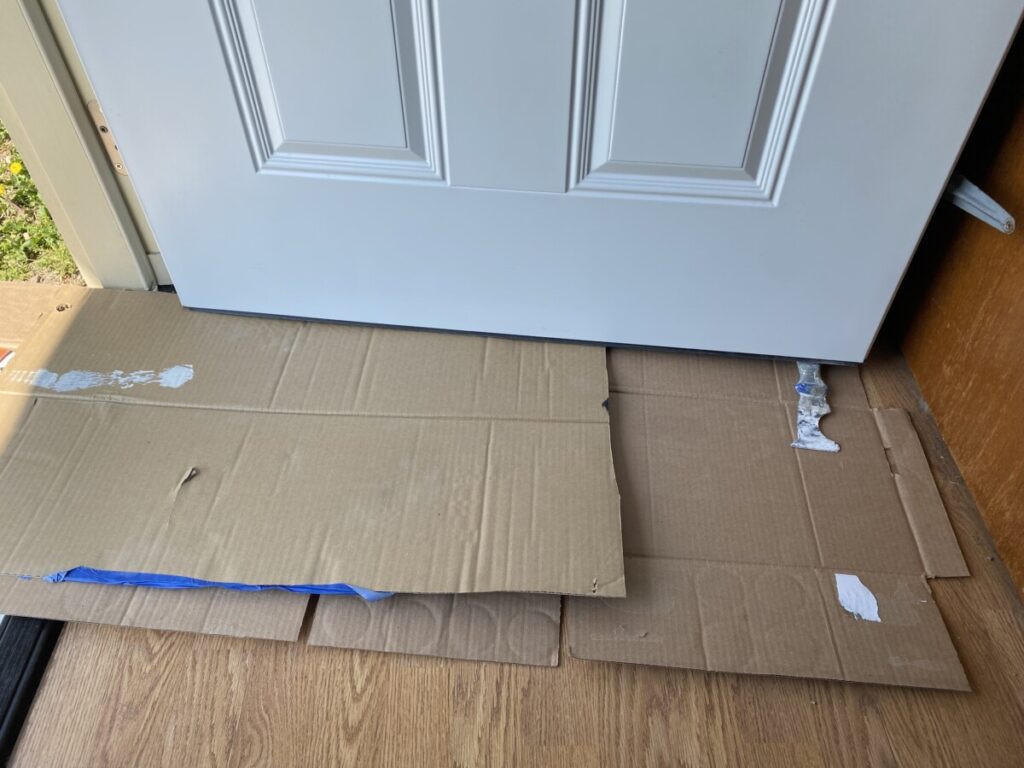
Now lets incorporate our cardboard. These slips or cuts of beer boxes simply get slid under the door.
Cardboard is much more convenient than a paint drop. Drops slide around and are a pain to slide under a door.
Stay away from plastic all together, paint doesn’t dry on plastic. You step on the plastic paint drip, its still wet and you track it everywhere.
Another note, use your paint scraper to wedge the door into place. If the sweep is to high, a person can place the sanding sponge under the 5 in 1 to shim it up.
Step 3 – Prepare the Paint
Considering we are using Tricorn Black by Sherwin Williams Direct to Metal latex paint for this application, a primer will not be needed.
The key to painting anything in life is to avoid primer if at all possible. It usually just adds an unnecessary coat.
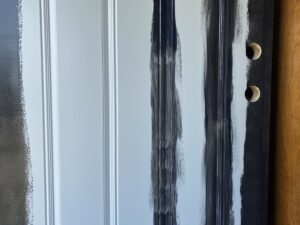
This black will go fairly well over this grey door. The slickness of the prefinish on the door will affect coating however.
Being this type of paint however, it dries very quickly. So we need to use a “slowing” agent.
For this, Floetrol by Flood does a yeoman’s job. 8 oz per gallon is the ratio, per manufacturer instructions.
After some good stirring with the brush its time for application.
Step 4 – Application
Now its finally painting time. When working with any paint and especially when painting a new door. The quicker we work the better.
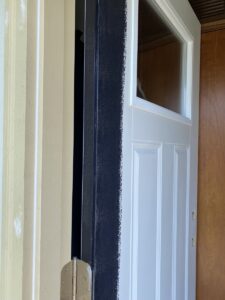
I always start on the strike and butt sides.
We will not get this thing painted in one coat so trying to is futile.
As soon as we brush in though, take the whiz roller and “strike” it off. Striking off paint is the simple means of rolling out your brush marks.
This is all in the effort to keep our edge wet and hide brush marks.
The Roller should not be saturated with paint.
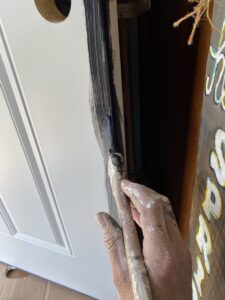
We only want enough paint on roller so as we are not pulling what we put on, off.
And then to the butt/hinge side. Same process.
Step 5 – Critical Application
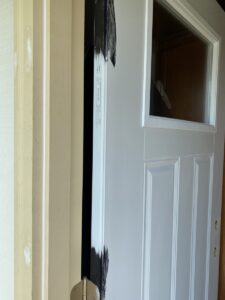
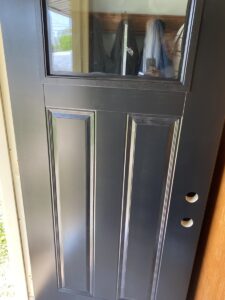
Moving on to the face of the door is very much of the same idea.
Considering this door has panels with 1 lite, we will start on the panels.
If no panels we would start brushing in the lite first.
If we were using a Urethane modified Waterborne paint on this door or 100% oil, special care would be needed to keep paint off of window lite.
Considering we are using direct to metal latex, not much concern is needed.
Most other exterior latex do not need special concern either.
Continue the steps onward to the second and third coat if necessary.
My door took three light coats

Step 6 – Starting to Finalize
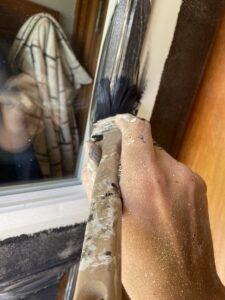
After letting our door dry thoroughly depending on weather conditions, its is time to break out the razor blade.
Firstly, slice the paint to separate it from finished side. Don’t worry about hurting the glass. It is much harder than our steel razor.
Once cut or sliced then scraping
Laying the blade over a little bit should peel the paint off with minimum effort.
I almost always use blades with just my fingers.
Using a holding tool interferes with the corners and effects dexterity.
Step 7 – Done and Done
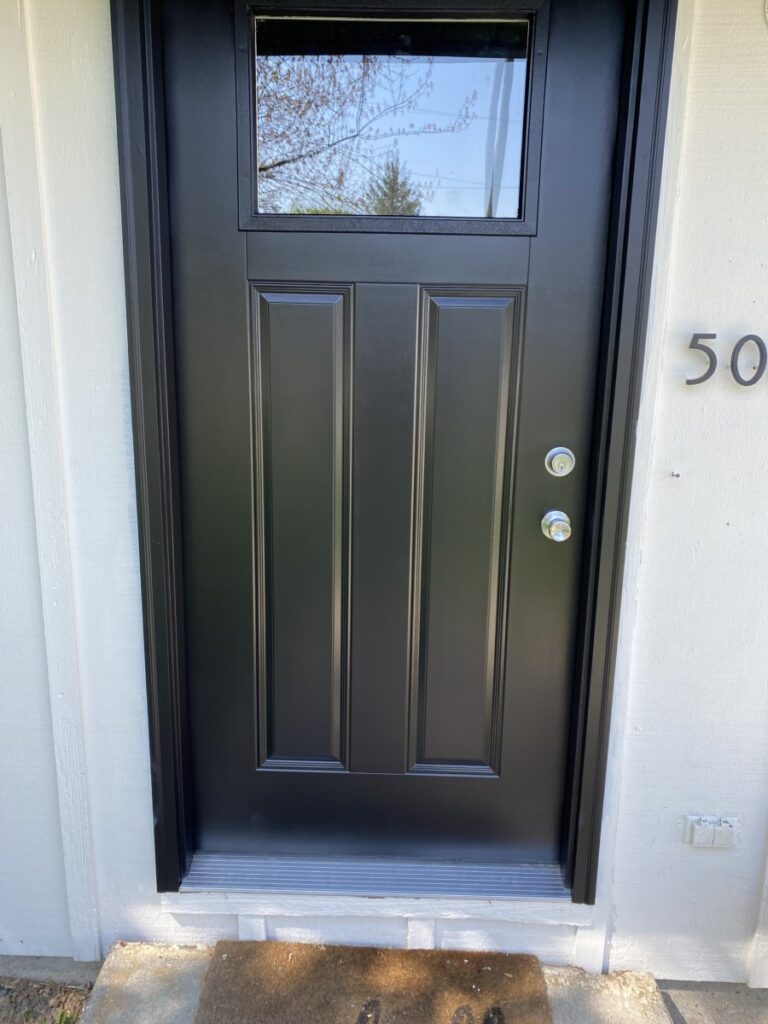
Once the door has tacked up and dried enough, it is time to put lock and handle back on. Extra care is to be observed to avoid nicking up your finished product.
I leave the door seals out of jamb for at least over night or a 24 hours. If not left out they will have a tendency to stick to door and pull paint.
Vaseline can be applied to seals to avoid this problem, if seals must be in place when done or on a commercial door whereas seals cannot be removed.